
Hanging your skateboard on the wall is always accompanied by a lot of benefits. It can be a sure way to display, retire, or keep the deck in order. The process involved is not tedious, it only requires a few minutes of your time and the use of some minor tools to get this in the right. In this article, we shared a step by step tips regarding the process of hanging skateboard decks .
How to Hang Skateboard Decks?
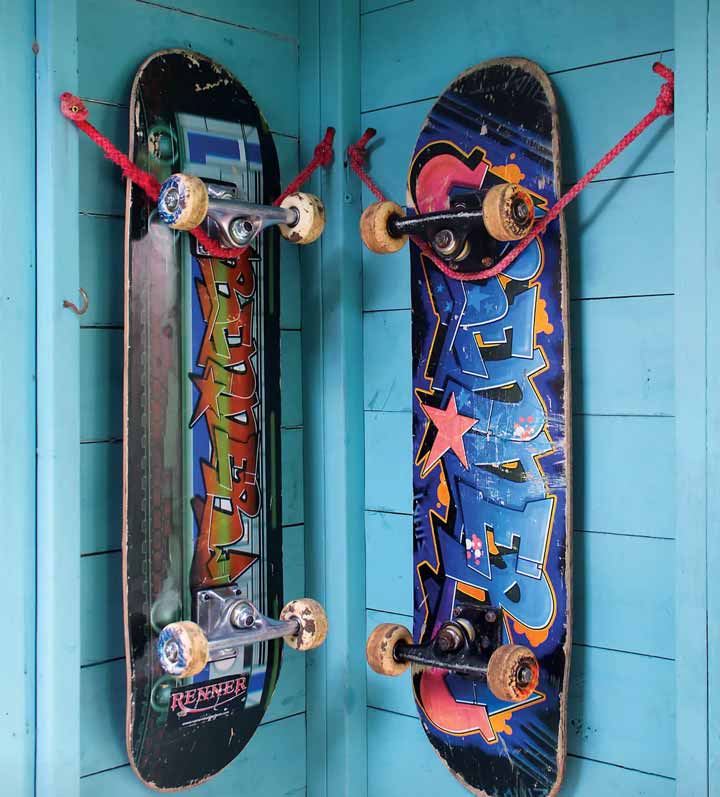
Hang It By The Rope
Things will you need:
- Rope
- Sharp knife
- Electric drill
- Screwdrivers
- Two units of 3mm x 30mm screw
- Lighter
- Pencil
- Ruler/ tape measure
Material quality has significant importance. The rope you intend using should be of good quality; it should be durable and strong enough to withstand the tension of your board. The remaining tools should be easy to handle. Your preparatory steps have more influence on the time and effort invested.
Another point to have in mind is if the wall you want to use is masonry, you will need 5 millimeter bit and 2 millimeters by 5-millimeter wall plugs. Read further to get a step by step guide on how to go about this.
How to do it?
Step 1: Cut the rope
Measure out 650 millimeters, which is approximately 25.5 inches length of the cable and divide it apart. This step requires caution, you have to confirm the durability and the strength of the rope you are using. Once you get to it end, you will have to slip the rope on the wheel, to do this from time to time since you stand the chance of losing the rope after some certain period.
A durable and strong rope needs a diameter of 6 millimeters. However, the length of the rope can vary. Ensure the length is right since this will help the wheel fit in. When you are cutting the rope, use a sharp cut. Using a blunt knife will affect your next course of action.
Step 2: Tie the rope
You will need to get the rope tied. This is why a cut from a blunt knife will make this part difficult. But before carrying this step out, you have to melt the edges on each of both ends. This will help secure the rope and keep it from fraying.
When you are tying a knot on one side, you will need to increase the force on the rope by pulling it hard. Ensure the knots are firmly tight and be sure they don’t slip out once they are secured with a screw.
Step 3: Mark the wall
This step also calls for caution. You will need a pencil and a ruler to sketch out vertical lines on the wall surface. Ensure the distance between the two spots is 370 millimeters which are approximately 14.5 inches. You can use a tape to increase your level of precaution. Place it on the wall and stand 1 meter away to level it with your eye.
Step 4: Mark the screw spots
At this point, you will have vertical lines that are both parallel to each other on your wall, the next step is to sketch two horizontal lines intersecting both parallel lines. Use your ruler and pencil to mark out the shape. Now the vertical lines are perpendicular to the horizontal line. Now screw your rope to go through the point of intersection, at the point at which you intend to screw it on the wall.
Step 5: Secure the knots
If you have a brick wall, drill it up holes on it before screwing your nuts. Use a masonry bit with a wall plug added to it. Next, use a screwdriver to drive the knots securely. If you have a wooden wall, then go ahead to screw directly.
Hang it on the hooks
Things you’ll need
- Plastic wall hooks
- Double size tape
- Fishing lines
- Sharp scissors
- Pencil
- Ruler
Scissors will be the most important tool at this point. Use it to cut the fishing line. Ensure you use a tape that can stick for a protracted period on the surface of the wall. If this is not in place, the deck can fall off the wall anytime due to gravitational pull.
How to do it

Step 1: Put the tape on
Add the double tape on the rear part of the hooks. Ensure you add enough stress on the hook to be sure it can withstand and bear the weight of your board.
Step 2: Draw the line
Use a ruler and pencil to sketch out a horizontal line on the surface of the wall. Ensure the lines are parallel to the floor position. And the distance that exists between the floor and the line be high to create a good spot where you can hang your skateboard.
The line should have a length of 900 millimeters which is approximately 35.5 inches. Afterward, mark the central point of the line and two ends points. These points marked are the point where you will stick your hook on.
Step 3: Stick the hooks on
make sure the three points that are rightly positioned on the wall, you will need to stick on each point. While you are sticking your hooks on the wall, ensure they are all positioned straight. This will align your skateboard properly.
Step 4: Insert the fishing line
This procedure is pretty simple. All you will need is a fishing line placed underneath the holes that are located within the grip side of the skateboard. Afterward create a durable knot and use a scissor to chop off leftovers that are on the surface.
Step 5: Hang it on
At this point you are good. All you need to do is hang the skateboard directly to the hook using the knot. You can also use this trick for your ripsticks, and electric skateboards. If you intend to hang more skateboard, add a couple of hooks to the wall.
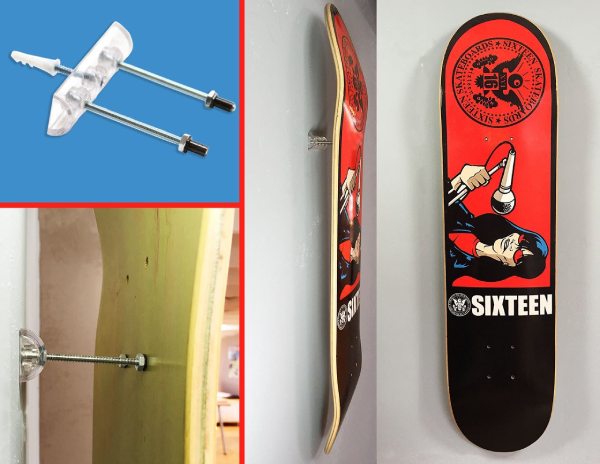
Hang it on the pushpin/nail
Things you will need
- Pushpin or nail
- Shoelace
How to do
Step 1: Lace the bottom bar
Use the end of a shoelace and pass it through the hole in the bottom hole then drag it out through the rear part of your deck. Ensure both ends are equal when creating the bottom bar.
Step 2: Lace the vertical bars
At the rear part of the deck, use a piece of the shoelace, and pass it through across the vertical hole, to form part of the deck, try to repeat the process at the other end.
Step 3: Tie the shoelace
Once both ends of the lace go through, tie the knot like that of a shoelace. You will also have to level up space where you will hang the deck.
Step 4: Mount the pushpin to the wall
Drive the pin directly on the wheel and ensure it is straight. Lastly set the loop directly to the rear part of the deck. Use a hammer to keep the wall secure. Try to tie the knot further or closer away from the skateboard.
You can hang almost all types of skateboard decks unless it is excessively heavy. So, choose a skateboard deck wisely keeping this in mind. The hanging task is quite simple; since it does not require much energy and time to be carried out. But be cautious when using a hammer or a screwdriver. Hang the decks in such ways so that your deck remains perfectly okay for the next uses.

Leave a Comment