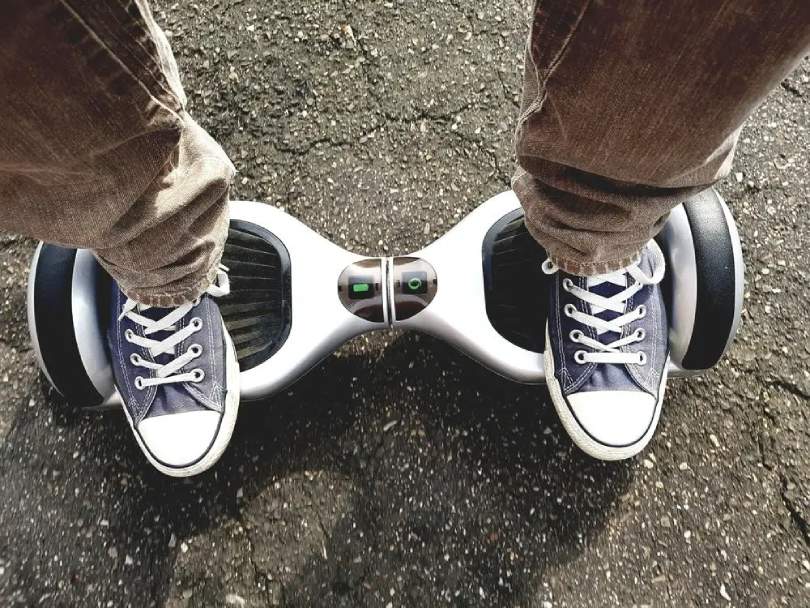
If you notice that your hoverboard isn’t even while riding, if it’s slower to turn on one side or the other, your red lights are flashing, or you can’t use the board, you may need to recalibrate it.
We’ll do some troubleshooting and get you back out on the streets to enjoy your hoverboard.
How to Know if a Reset Is Needed for Your Hoverboard
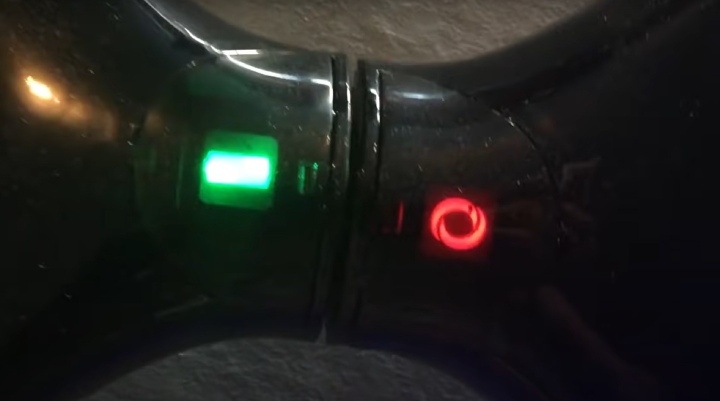
a) Light Signal
If the battery light is flashing, there is a problem. Here are the most common issues and how to solve them.
b) Red light flashes once
There may be a loose connection. Unscrew the hoverboard from the bottom and tighten loose cables using a screwdriver. If you don’t find a loose wire, you can disconnect and reconnect the wires as well.
c) Red light flashes twice
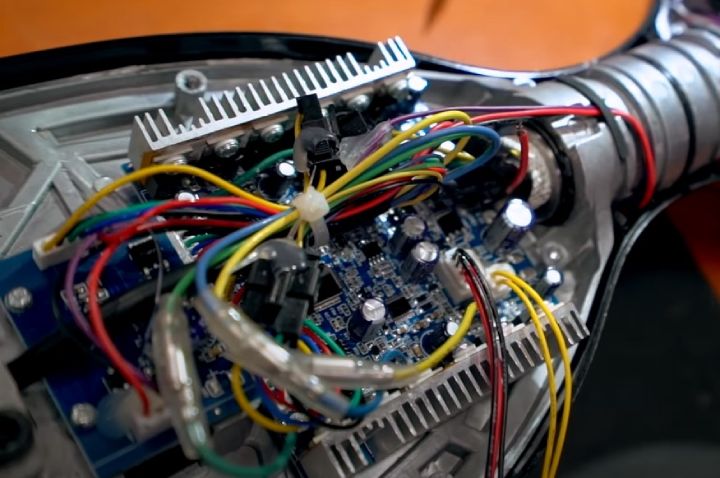
This could be an internal circuit; you could need a new hoverboard circuit replacement kit. Follow the video below; you can fix this yourself.
d) Red light flashes 4 to 5 times
You may need to a new motor
e) Red light flashes 6 times
You may need a brand-new battery
f) Red light flashes 7 to 8 times
This could mean you need to replace your gyroscopes
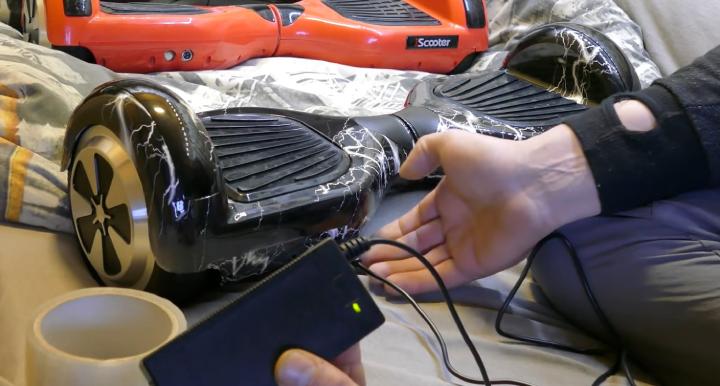
g) Battery charge issue
This seems to be very common with hoverboards. The following tips may help you keep the board charged:
- Read and follow the manufacturer’s directions on charging the board.
- When the hoverboard is plugged in and the charger’s red light is seen, the hoverboard is charging just fine. A green light means your battery is fully charged. A full charge could take 2-3 hours. Never charge the hoverboard if the light is green!
- Always use the charger that is for your board. If you use the wrong charger, it may charge slowly or not at all. Use the owner’s manual to ensure you have the correct charger.
- Make sure the temperature of the room you are charging in is the perfect temperature. For example, a room that is too cold could affect how it charges.

If You Are Doing All the Above and the Hoverboard Still Is Not Charging
- The charger light is red
It still needs to charge; let it charge for the entire 2-3 hours
- The charger light is green…
But when you turn it on, the hoverboard beeps, and the red light is on. You need a new battery. You can replace this yourself.
- The hoverboard has an orange light…
But it doesn’t turn on unless it’s plugged into the charger. This is a battery issue; it probably needs to be replaced.
- There is no charger light on at all
First, check that the charging port and the three-prong plug match up.
Next, check the outlet on the wall by plugging in a device to see if the outlet is working. If the outlet works and the charger does not, the charging socket could be loose.
Take off the pack cover on the side where the charging port is and unplug, then plug all the wires back in and see if the charger is now working.
- Misconfiguration issue
Misconfiguration issues can be easily fixed by recalibrating the hoverboard, as addressed above. High altitudes can also cause this issue.
- Leaning on one side
- Check if the hoverboard is in self-balancing mode. Make sure you are on a flat surface to detect the problem accurately
- You may need to recalibrate the hoverboard
- Check to see that all the wires are connected
- You may need to replace the gyroscopes
h) Alarms
- Uneven surface. If your board is inclined 15-30%, your alarm will beep to remind you to find an even surface. It will continue to beep until it is on an even surface
- The light is green, and its beeping indicates the battery is at 20% and needs charging. When it gets to 5%, it will beep, and the light will be red…do not wait this long to recharge
- The beeping won’t stop, and the board doesn’t turn off indicates the motherboard needs replacing
- The board beeps when going fast indicates you have exceeded the safe speed of the board and need to slow down
How to Reset a Hoverboard – Step-By-Step
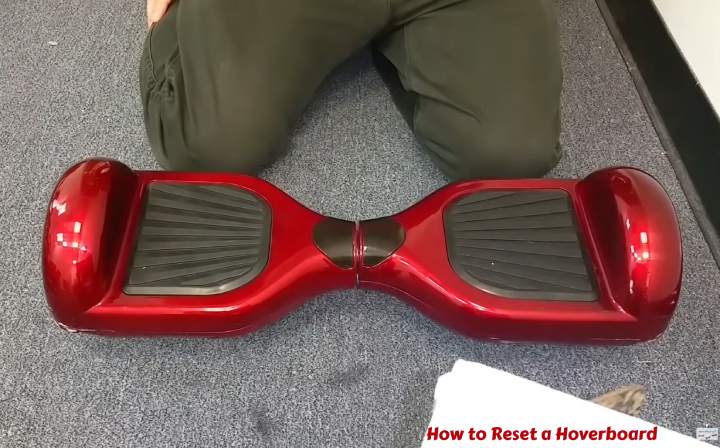
Step 1: Turn off the hoverboard completely
Make sure the board is completely off. Use the power button on the hoverboard. Do not use your remote; it may not turn it off completely.
Step 2: Keep It on a flat surface
Both sides will need to be evenly on a surface so you can recalibrate the hoverboard
Step 3: Press and hold the on/off button
Push and hold the power button for five seconds until you hear the beep.
Step 4: Wait till the light indicator goes off
The light on the hoverboard will flash; wait thirty seconds, don’t touch the power button (the board is recalibrating right now).
Step 5: Turn off your hoverboard
Now you will need to lock in the calibration by pushing the power button one last time. It is recalibrated!
Step 6: Turn on for a test
- Put on your safety gear first; if it’s not recalibrated, you could fall or get pitched off the board!
- Place the board on a flat floor or ground and turn it on. Test ride the board by going in circles, back and forth, and up a small hill. You are checking to make sure the hoverboard rides evenly on both sides.
- If everything is working correctly, it is calibrated!
How to Reset Your Hoverboard via Bluetooth?
A Bluetooth hoverboard should only be reset if necessary. This can fry the Bluetooth chip even when done right.
If the hoverboard has a smartphone app, do the calibration through the app. Then follow the directions below to help you after checking the instructions on the app:
Step 1: Download the Hoverboards app to your smartphone.
Step 2: Your hoverboard needs to be connected to the app; make sure you have a connection.
Step 3: Make sure the board is on a flat surface.
Step 4: In the app, find the section that says “calibrate the unit.”
Step 5: Instructions should pop up. Pay close attention to the instructions (Doing this wrong will fry the Bluetooth chip). Following the directions can also fry the chip; this may be the only option when the board is not working. Once calibrated, take the board out for a test ride as you did above.
How to Pair With Your iPhone to Reset?
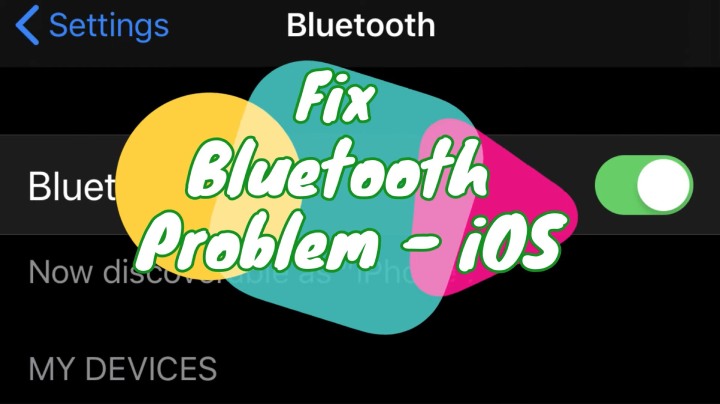
First, you need to make sure your hoverboard has Bluetooth, lay the hoverboard with the bottom up, and turn it on. If it has Bluetooth, you will hear a buzzing sound.
Step 1: Once you hear the buzzing, open your phone.
Step 2: Go into the settings on your Bluetooth and look for the list to come up.
Step 3: When the list of Bluetooth-compatible devices comes up, scroll to the bottom and open Bluetooth so the signal can connect to it.
Step 4: Once the devices pair, you will hear a sound from the hoverboard.
Step 5: Open your music app and play a song.
How to Reset the Battery?
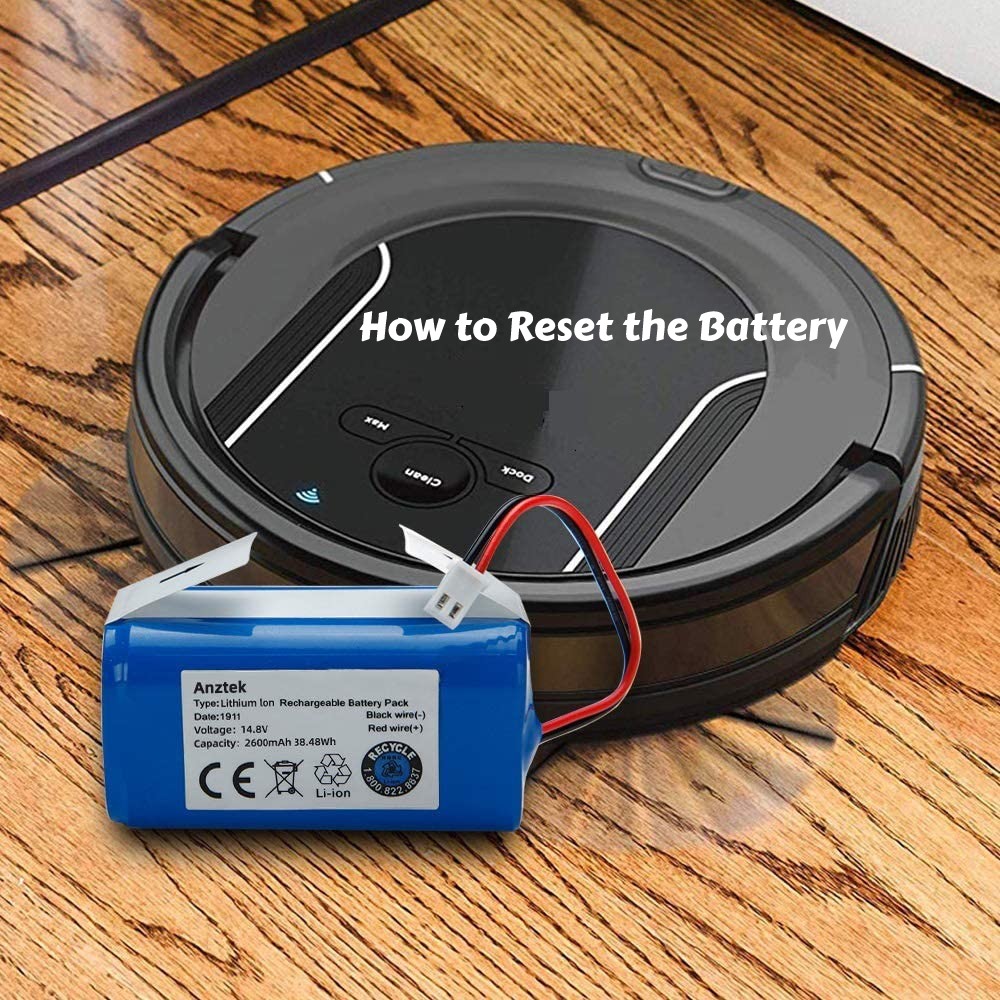
a) Check if the battery needs replacement
If your battery has charged for the full 2-3 hours and you turn it on (It is unplugged to turn it on), and the red light in the center of the hoverboard is blinking red, you will need to buy a new battery.
If the hoverboard does not turn on at all, it is either the battery or the motherboard could be bad.
b) Check battery specs
The specs for the battery can be found in the hoverboard’s manual and on the battery itself. See the sticker on the front of the battery.
c) Open the cover to replace the battery
Putting the hoverboard pads down on the table, unscrew the four screws holding the battery to the frame. Then, unplug it from the plug connector.
d) Connect the new battery and reset
Plug in the new battery set it in place, place the lower body back on and screw it in place. Next, place the shell into place and screw it until snug.
What if the Reset Does Not Fix the Problem?
- Check to see if Bluetooth suddenly went out. You may need to replace the motherboard. Look into this right away
- Check to see if any wires are loose. Make sure all wires are connected. If they are connected, and the reset didn’t work, you have a bigger problem
- Check to see if the hoverboard lights stay on. If the LED lights stay on, you have to replace the gyroscopes. This is a manufacturer’s way of alerting you to the gyroscope replacement
- Check for sounds when pressing the footpads; if there are no sounds, you need may need to replace a gyroscope. So it would be best if you looked into this
- Check for red flashing lights, which indicate an error code. Count the number of times the light blinks, then look up that number in the error codes to see the problem
What if the Hoverboard Does Not Turn On?
- Check to make sure the hoverboard is charged
- If the green light on the charger box is not on, you could have an internal circuit problem. It will need replacing
- If the charger box’s green light stays on, turn on the hoverboard and check for an orange flashing light. That means the battery needs replacing
What if the Board Does Not Turn Off?
If the hoverboard’s beeping continuously and won’t shut off, you can stop the beeping. Turn the board over, unscrew the cover and remove the battery. You will need a hoverboard kit to fix this problem. You can fix this yourself.
What if One Side of the Board Does Not Work?
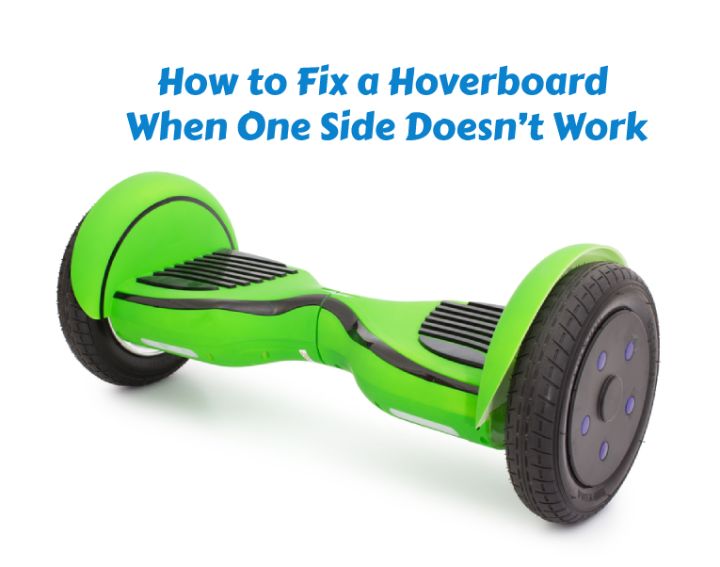
This is a common problem; it is usually faulty Gyroscopes. You will need to know the difference between males and females.
a) Male – Two receiving ports and a wire harness.
b) Female – More than two receiving ports and no wire harness.
Use the perfect replacement gyroscope in this repair. Then you can do it yourself.
The Takeaway
Now that you have read about some of the common issues and how to troubleshoot them, you can fix these problems and continue to enjoy your hoverboard! Be sure to wear your safety gear when you are on your hoverboard.


Leave a Comment