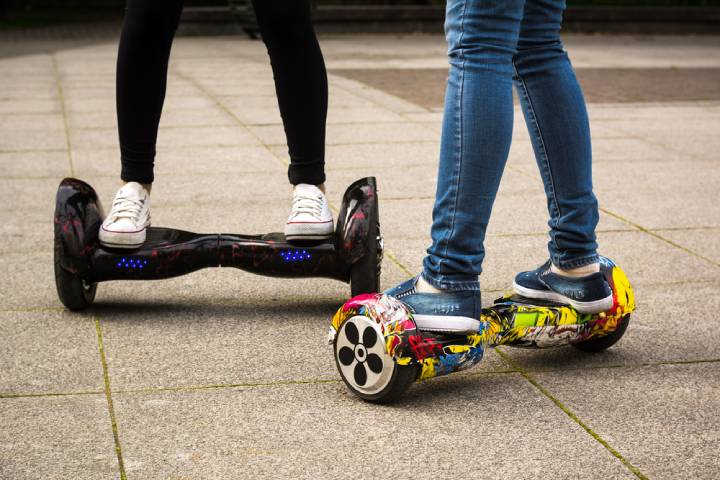
Hoverboards have become very popular these days. But before you go out and buy one, there are many things you need to consider.
This ultimate hoverboard guide will help answer some questions and give you an idea of what you are getting into before purchasing a hoverboard.
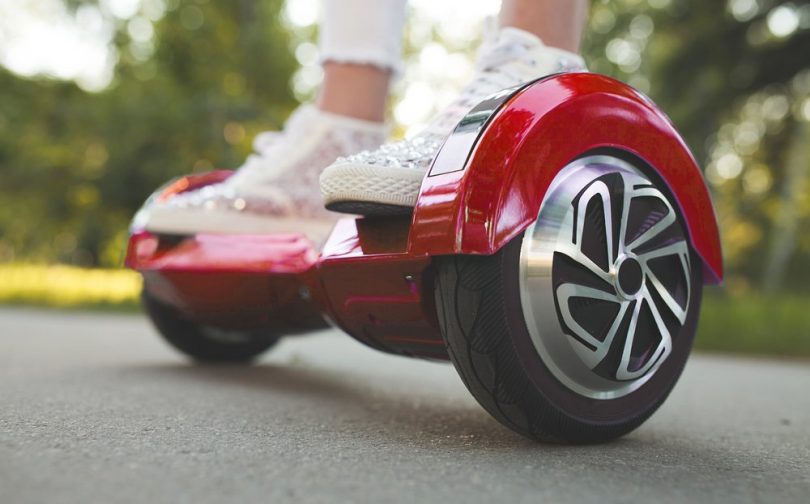
How Does a Hoverboard Work
-
Steel Frame
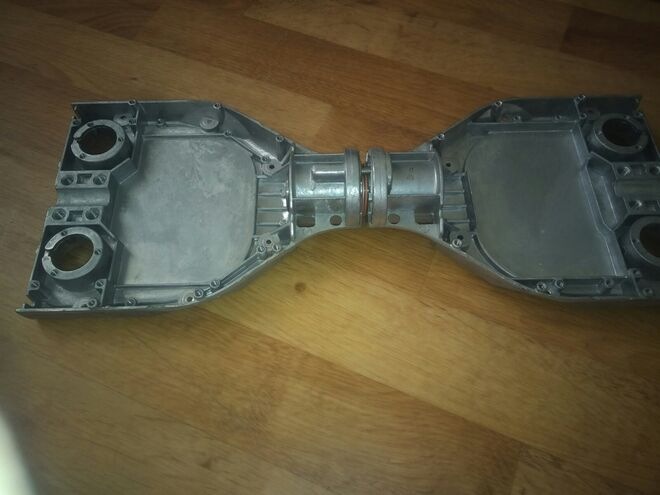
The steel frame is the actual hoverboard; it holds all the components in place and is where you stand to control the board. It houses the two pressure pads.
-
Two Pressure Pads
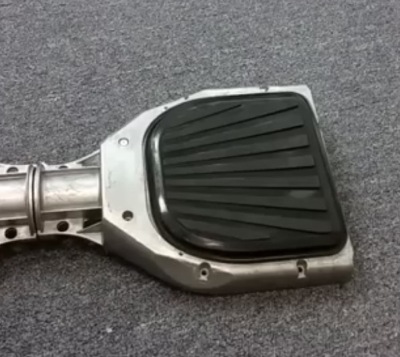
The pressure pads located on each side of the board have a switch in the back and the front. These detect how your weight distribution, moving the hoverboard accordingly.
-
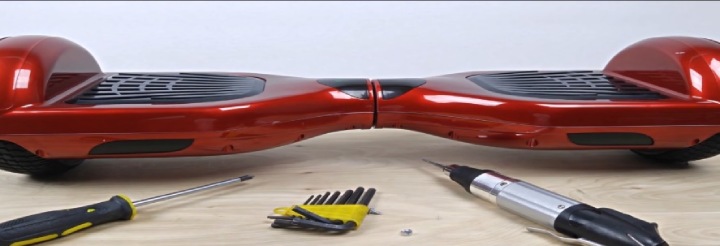
Plastic Outer Shell
The logic board controls all modes of the hoverboard. It processes how fast you are going in real-time, your approximate speed, and the tilt of each wheel. It can control this whether you are in locked or beginner mode and controls the board’s power management.
-
Two Gyroscopes
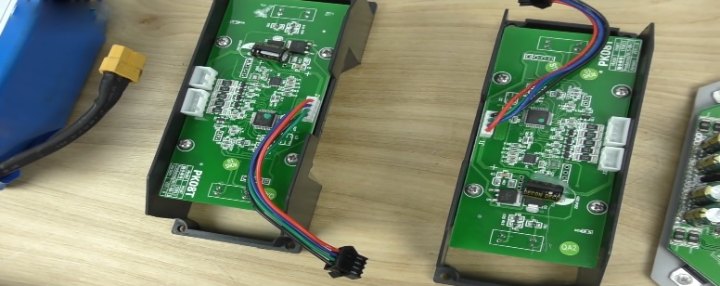
On each side of the hoverboard near the wheels are the gyroscopes and speed control boards. They send the information to the logic board when the sensors in both wheels receive RPMs and the tilt information.
-
Two Electric Motors
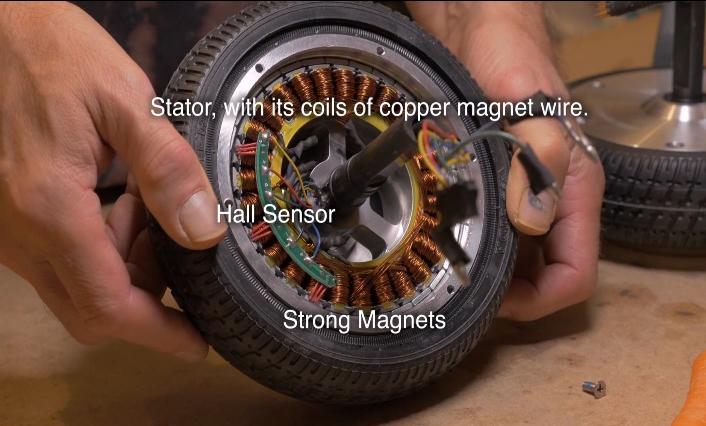
The motors are located in each wheel
-
Tilt and Speed Sensors (two)
These sensors detect the wheel’s revolutions per minute (rpm), sending it to the gyroscopes and speed control boards. They’re located in the electric motor of each wheel.
-
Battery Pack
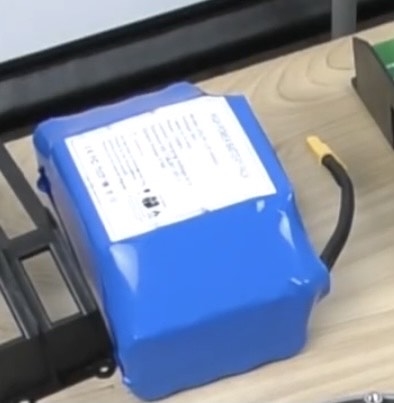
The battery pack is the energy source for the Hoover board. It has a charging port that allows you to charge the battery.
-
Infrared Sensors
These sensors detect how you are leaning, so the board knows which way it should spin.
-
Power Switch

It does exactly what it says; it turns the hoverboard off and on.
-
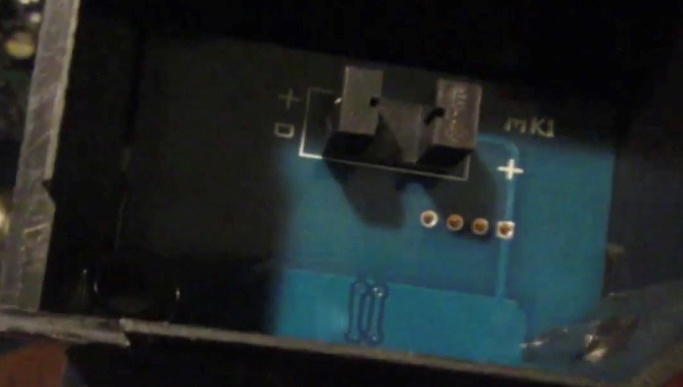
Charging Port
The charging port is where you put in the charging cord.
-
LED Light
LED lights show you that the data is good, and if you have a non-working sensor, you know if there is something wrong with the board before you start to ride, telling the board it is safe to run. They are also the board’s lights.
Optional Features On a Hoverboard
-
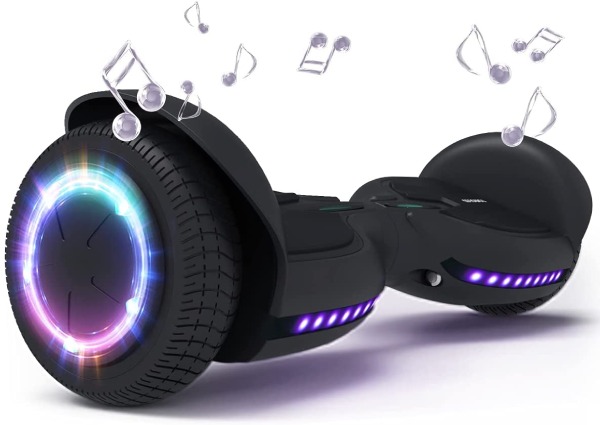
Bluetooth Speakers
The Bluetooth speakers allow you to listen to music while you ride.
-
Skins
Skins protect your board from scrapes, dust, pings, and everyday wear and tear. They come in three materials:
a) Vinyl
b) Silicone
c) Rubber
-
Built-in Speakers
Speakers built into the hoverboard let you play your music through the board.
-
Turn signals
You can purchase a board with turn signals on it, or they can be bought separately and placed on the board later (older models do not have them).
-
Fog Lights
Some hoverboards come with LED lights that can act similar to a fog light. However, they are not a true fog light. So, for your safety, do not hoverboard in the fog!
-
Remote Control
The remote clips to your belt. It can turn the hoverboard off and on, turn your speakers off and on, and some will turn the lights off and on.
How To Ride A Hoverboard?
-
Moving Forward and Backward
To move the hoverboard forward, lean forward. To move the board backward, lean back. Do Not lean too far in each direction; YOU WILL FALL! Practice going forward before you try going backward.
-
Turning
You create a turn by twisting forward the foot to the opposite side you want to turn. Example: If you’re going to turn Right, push your left toes forward.
Practice this using both feet to create a sharp turn. Your turns will improve the more you practice.
-
Stopping
Standing straight up with no tilt will bring the board to a standstill.
-
Spin in a circle
As you would for a turn, the further down you push your toes, the more you will turn, the further down the toes are pushed, the sharper the turn, continue pushing the toes until your turn becomes a circle.
-
Stepping Off Your Hoverboard
Step backward with your dominant foot with a relaxed leg. Never get off the board by stepping forward.
How Does the Hoverboard Remote Work
-
Turning the Hoverboard off and On
On – Turn it on by pressing the On button on the hoverboard.
Off – Hold the LOCK button on the remote.
-
Locking the Hoverboard
To lock the board, press the unlock button, you repress the unlock button to unlock it. Some remotes will have a red light for locked and a green light for unlocked.
-
Setting Up Beginner’s Mode
Press and hold the unlock button for three seconds. There will be a flashing “IO” symbol. To disable beginner’s mode, hold the button for three more seconds. This will allow you to go three mph (perfect for beginners).
-
Recalibrating Your Hoverboard
If you crash, you may have to recalibrate. Place your hoverboard on a flat surface. Turn on the board and lock it by pressing the unlock button; press and hold both the lock and unlock when the battery symbols turn red.
The Controversy on Hoverboard Safety
When the hoverboard first came out, there were issues with its battery exploding or catching fire. There have been multiple changes since the first boards, and they are tested better than the originals.
If you purchase a hoverboard with UL 2272 certificate, you can be confident the board is safe.
If you are going to let your child use a hoverboard, you should follow the manufacturer’s recommendations and use common sense.
How to Build a Hoverboard You Can Ride
Levitating Hoverboard
a) Propeller System
The hoverboard will have floor-mounted propellers and a custom carbon-fiber structure operated by a hand remote.
b) Electromagnetic Energy
This hoverboard has powerful magnets encased in its base. The magnets cooled to 197 degrees Celsius using liquid nitrogen can only be used on a hidden track in the skate parks’ surface.
c) Superconducting magnets
The magnets used in the hoverboard with Electromagnetic energy use superconducting magnets.
Buggy Attachment with Fogger Blast and LED Lights
This seat with bars to hold on to has LED lights and log blasters with sound effects.
Hoverboard Safety Tips – Precautions and Safeties
1. Get a quality hoverboard
- Get your hoverboard after doing some homework
- Purchase from an established hoverboard dealer or store
- Make sure your hoverboard is UL listed
2. Don’t Leave the hoverboard unattended
- Use the correct charging cord
- Only charge when you are awake and can see the board and charger
- Do not overcharge the board
3. Don’t damage the body
- Avoid rough roads
- Do not hit any bumps in the road
- Try to avoid crashing the board when you are first learning
4. Know where to ride and avoid the police
Look up the laws in your state and city. They are different everywhere.
5. Always use safety gear
Gloves – to protect your hands and fingers to reduce scrapes, cuts, and lacerations.
Knee and Elbow Pads – Prevents small things like cuts and scrapes, but can also prevent a broken knee or elbow
Helmet – Avoid head injuries like lacerations and cuts to your head, prevent a cracked skull and concussions
6. Remember it’s not a skateboard
- Do not try to do tricks; you could get seriously hurt
- Do not use on ramps or stairs
- Crashing your hoverboard can lead to recalibration or, worse, an exploding battery
7. Check and calibrate before you ride
- Always check the calibration on the hoverboard BEFORE a ride. If needed, recalibrate it
- Practice indoors before riding on the street
- Learn how to step off and on the board
- Stand straight with locked knees and legs apart
- Watch where you are going at all times
8. Determine your dominate foot for steering
Figure out your dominant foot; this will be the foot you get on and off the board with and how you will turn.
9. Avoid hills and rough terrain
Do not use the hoverboard on rough roads and pavement; avoid potholes and curbs.
10. Stepping off and on the board
- Step on the board with your dominate foot. Do not hesitate
- Step off the board backward using your dominant foot
11. Be visible to pedestrians and cars
Ride during the day when you can be seen and can see others
12. If riding at night
- Wear white and reflective clothing
- Ride in well-lit areas with good lighting
- Wear Light-up shoes
- Make sure your hoverboard lights work and are bright
13. Keep safe and go slow
There’s no need to fast. Go slow and enjoy your ride. Ride slow till you get experience, then slowly increase your speed.


Leave a Comment