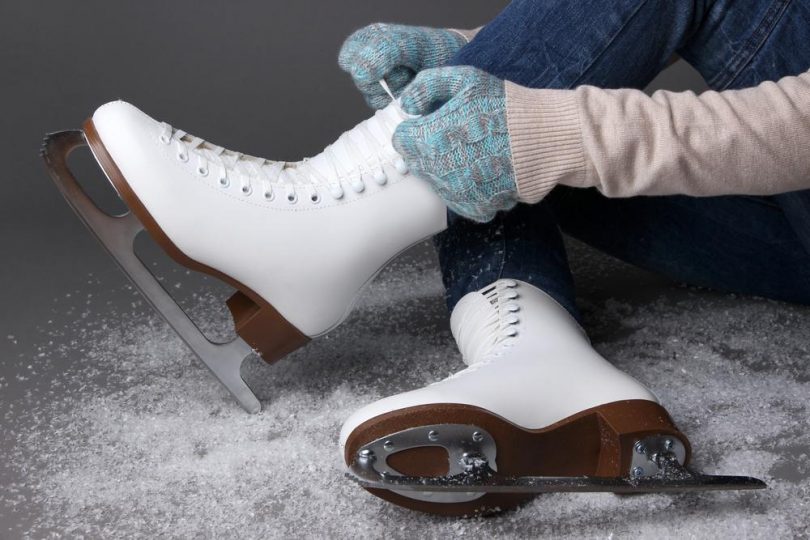
For regular everyday shoes, there’s a standard way of lacing. The criss cross and bunny ears. Of course, there are a few other methods, but the way normal shoes are laced doesn’t affect them too much.
Skates, on the other hand, are completely different. The way you lace your skates has a direct effect on how well you skate and how comfortable you are wearing your skates.
Read on to learn about the different skate lacing techniques and the most effective one for you.
Table of Contents
Skate Lacing Techniques
Lacing for Ice Skating
1. Out Lacing (a.k.a Edea Lacing)
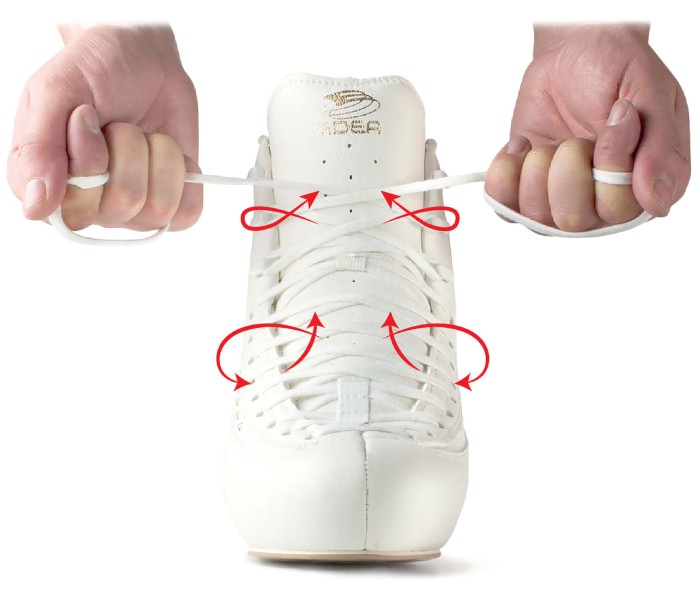
Out lacing or edea lacing, is a simple but efficient lacing technique. Here’s how to do it:
- Start at the toe of the skate and insert the lace outside-inside
- Tighten the laces. Pull outwards and downwards.
- Tie normally at the end.
2. Criss Cross Lacing
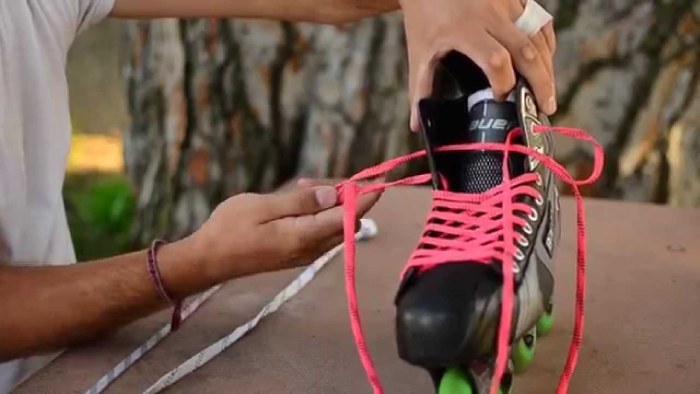
Criss cross lacing is one of the most common lacing techniques. It’s easy, effective, and comfortable. Here are the steps:
- Start on the inside of the skates and out the bottom eyelets.
- Cross the laces at each eyelet pair.
- Go under the sides and out through the next eyelet pair.
3. The “V” Pattern
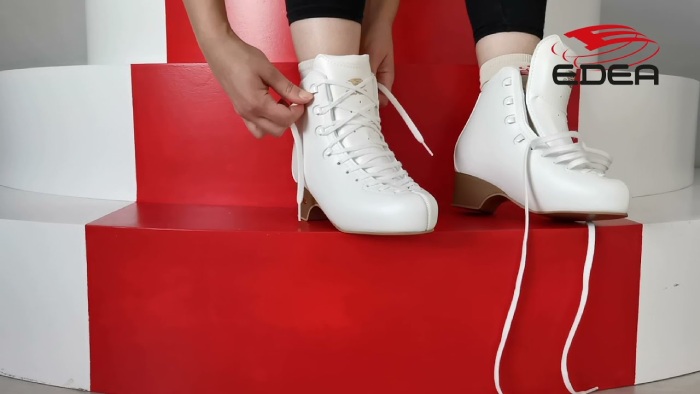
“V” Pattern lacing is a way of lacing the hooks on figure skates. It’s not much different from regular lacing. All you have to do is wrap the top hook and then skip to the middle hook. Lacing this way helps with mobility.
4. Lacing with the Fourth Hook
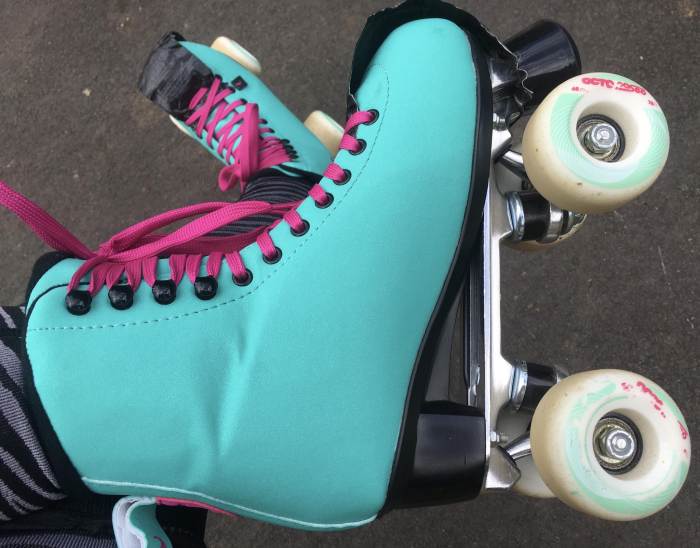
Not all skates have a fourth hook, but if yours does, lacing with the fourth hook could help close the instep of the skate more and help with comfort.
Wrap the other hooks as you normally would, but make sure to wrap the fourth from bottom to top. Tie of the skates as you normally would.
How to Lace Roller Skates?
1. Reduce Heel Slippage
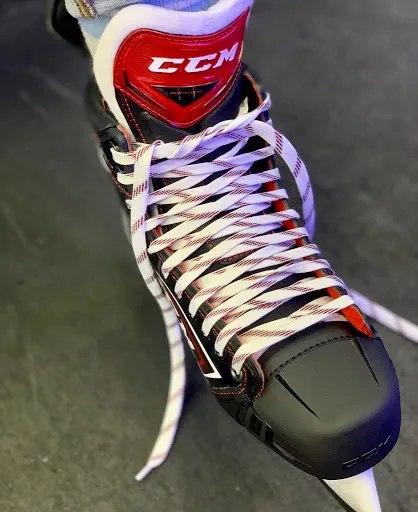
To stop heel slippage, try the double cross lacing method. It can make untying your laces a little more difficult, but it’s still a good method to try.
All you need to do this method is lace it up using the regular criss cross method. Then, when you get to the last eyelet, cross the lace ends twice.
2. Lacing For Toe Problems
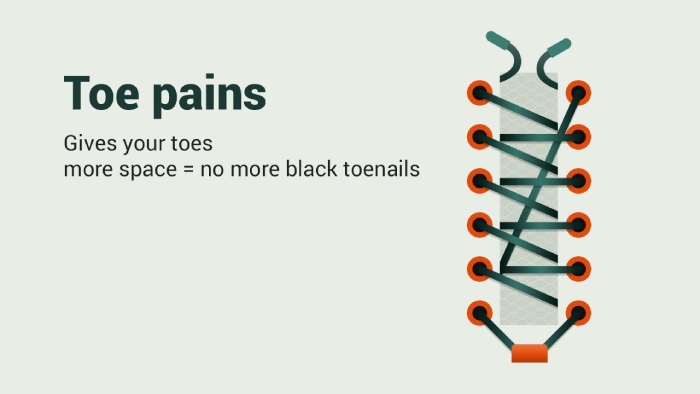
For skaters with toe problems, a lacing technique that raises the toe cap off the toe is optional. It’s a little trickier than regular lacing but is worth a try.
Here are the steps:
- From your big toe, pull the lace through the starting opposite eyelet.
- Thread one side of the shoelace through the bottom diagonally.
- Thread the other side through each hole in a zigzag pattern.
- Tie off the laces normally.
3. Skates With High Arches
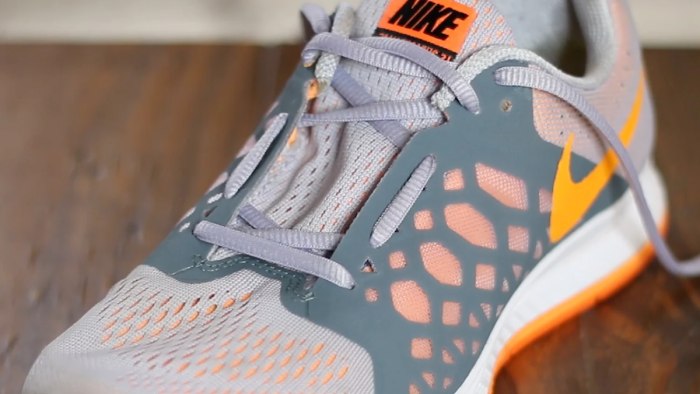
If you have high arches, opening up the middle of your skates would make them a lot more comfortable for you. Here’s how to do that:
- Use regular criss cross lacing through the first two eyelet sets.
- Thread the laces through the next set of eyelets.
- Use regular lacing for the rest of the eyelets.
- Tie off the laces normally.
4. Zipper Lacing
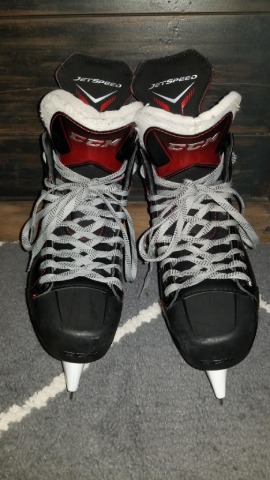
Zipper lacing is a good technique if you’re looking to make your laces tighter. The steps are:
- Start on the inside of the skate and pull the laces out the bottom eyelets.
- Loop the end under the lace where they feed into the side of the skate.
- Cross the ends of the lace. Go under the side and out through the next pair of eyelets.
- Repeat this pattern until you get to the last set of eyelets.
5. Lacing for Skates Rubbing on the Right of Your Foot
If your skates are rubbing against the right of your foot, go for a method that gradually alleviates pressure of the lower part of your foot.
Here’s what to do:
- Lace up the first half of the shoe as you normally would.
- Tie a knot halfway through the skates.
Different Ways To Lace Your Hockey Skates
Under Lacing
For children and beginners, under lacing is the most commonly used way to lace hockey skates.
Start from the bottom eyelets by inserting the lace from underneath. Then diagonally pass the lace across the tongue and insert it through the next opposite eyelets.
Continue doing the same thing to all the eyelets.
Over Lacing
The over-lacing process is the same as under-lacing except, for one thing, you have to start by inserting the lace from the outside of the eyelets.
The lace may need to be longer than the requirement of under lacing style as this method shows more lace and provides extra tightness. It will also give a classic look to your hockey skates.
Lock Lacing
This style is also similar to the previous two styles except for the top two eyelets. For the last part of the lacing insert the lace in the 2nd top most eyelets from inside and then in the top most eyelets of the same side from outside.
Although this style is mainly used by runners you can use it in your hockey skates especially, if you are a beginner or prone to ankle injuries as it reduces slippage by holding the foot down. It is also good for adjusting improperly fitted skates.
The downside is it reduces the flex of your skates.
Partial Lacing
This style resembles under or over-lacing techniques except for leaving the uppermost eyelets untied. This way your ankle joint can get more side-to-side space to move easily and take sharp turns with flexibility.
If you are a beginner then this style is not for you as this style can make you unstable and only experienced skaters can handle this type of loose lacing. People with wider feet can also be benefited from this style as it gives more space for their bigger ankles.
Double Cross Lacing
For this style follow the under or over lacing technique and for the topmost eyelets double cross the lace before you tie them.
This style can prevent slippage by making your shoes and laces tighter. Though it is easy and quick to do but may be troublesome for you to untie.
Why Shouldn’t I do the “Under First” Technique?
Lacing your skates under first is not ideal because it limits your movement, puts more strain on the skate hooks, creates unleveled pressure on each side of your leg, and reduces the hold your laces have.
Instead of the under first technique, try some of the other lace techniques that we mentioned.
Why is the Way you Lace Your Skates Important?
Lacing your skates the proper way is really important because it helps you secure your feet and ankles into the skates.
This helps you have better control on the ice, as your feet won’t move around as much, which makes skating a lot safer. You’re also a lot more comfortable in your skates.
Another thing that proper skate lacing does is reduce your chance of lace bite.
Lace bite is pain caused by excessive pressure from a skate’s tongue. The pressure of the tongue is usually directly related to how the skater laces their shoes.
Lace bite gets worse the more you wear your shoes a certain way, so it’s in your best interest to start employing some proper lacing techniques.
The last thing proper lacing can do for you is help you skate better. When you have better control, you are able to execute your skills so much better.
Trust us, Mirai Nagasu didn’t do a triple axel with improperly laced skates.
Waxed vs Unwaxed Laces?
Waxed laces have a thin layer of wax on them. This helps the skates grip the eyelets better and require less pressure to move up to another set of eyelets.
They are recommended for kids and people who don’t have much experience tying skates along with people who have skates that are too big for them.
One benefit of waxed skates is that they last longer than their counterpart, but a negative is that they leave a waxy residue on your hands when the wax reaches the end of its lifespan.
Unwaxed laces, on the other hand, are your standard laces that you can find pretty much anywhere. They are recommended for people who know how to tie their skates and don’t need the extra grip.
One benefit of unwaxed skates is that they are softer than waxed skates, so they allow you to flex your feet more.
A negative is that they are not as tight, so they unlace a little easier than their counterpart.
Do Skate Laces Have Sizes?
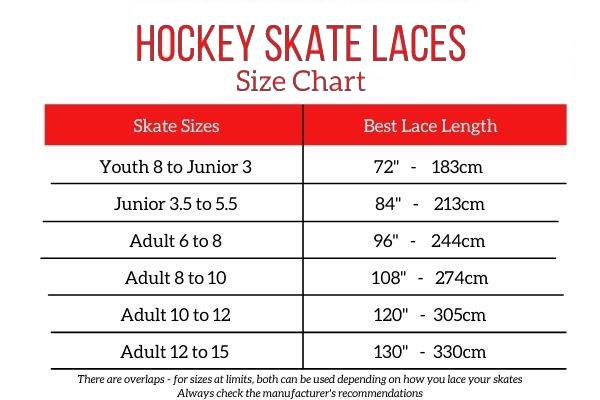
Skate laces are separated into three size categories. The three categories are children, junior, and adult.
Children’s skate laces range from 36-54 inches in length. Junior skate laces range from 74-84 inches.
Adult skate laces range from 84-130 inches in length.
The lace sizes are based on if the laces can go into the eyelets and leave you with 9-10 inches to tie them. Bigger skates will require longer laces.
Skate Lacing – Pro Tips
-
Don’t tie them too tight or loose
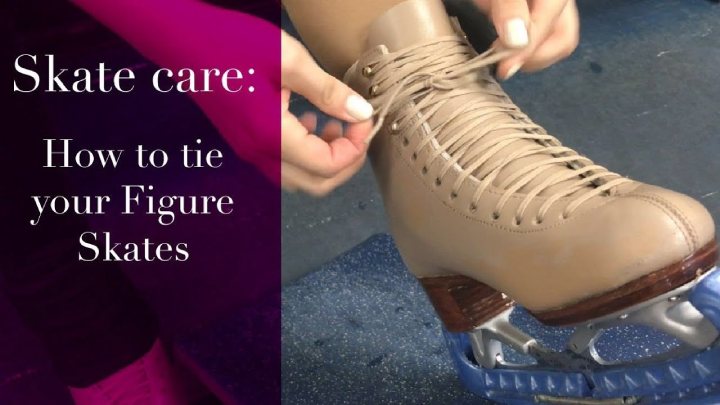
Tying your skates too tight can cause your skates to develop an Aladdin’s tip and feel quite uncomfortable in general.
On the other hand, leaving them too loose will cause you to not have as much control when skating, which will likely restrict you from skating properly or being able to do cool tricks.
-
Check the skate’s tongue
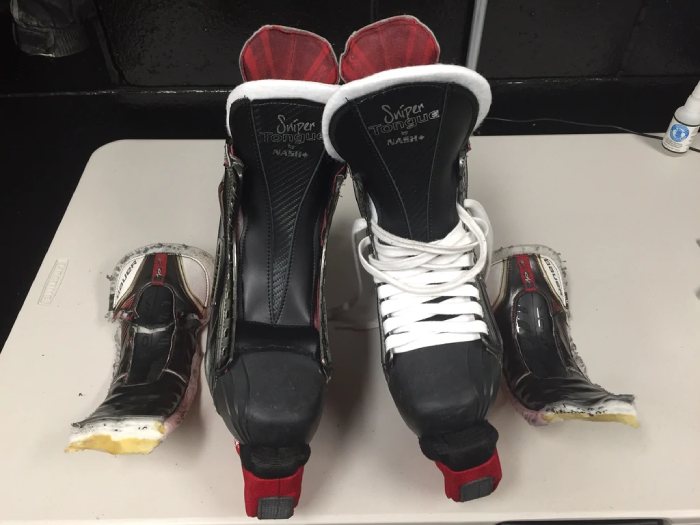
Our feet are naturally unsymmetrical. When the skate tongue is not secure, it shifts to align with the natural unsymmetrical position of our feet. This is not ideal because the tongue in that position doesn’t provide protection for the instep of our feet, nor the leg flexion needed to skate.
Make sure that your skate tongue is secure before skating to give yourself better stability and stop the instep of your foot from being bruised.
-
Buy proper fitting skates
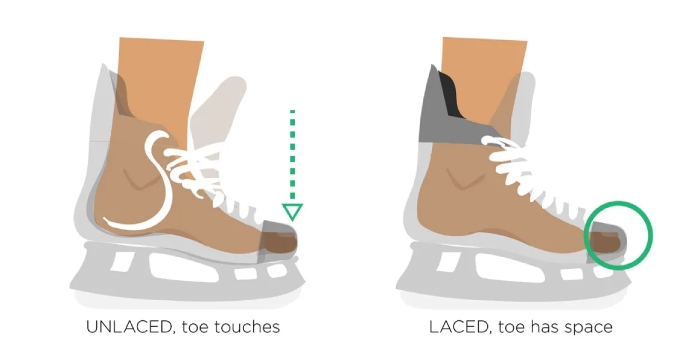
Proper fitting skates are important because they help you skate better and also help you have better control.
Skates that don’t fit properly can cause a comfort issue at best and an injury at worst. They don’t provide the control needed to skate well or safely.
-
Don’t wear socks that are too thick or small
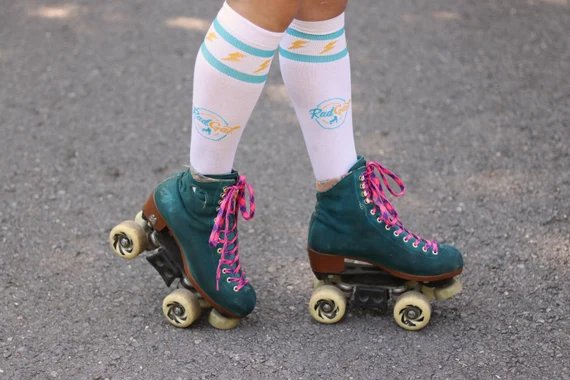
Socks that are too thick can cause the skates to fit improperly or feel too small. This will make skating uncomfortable.
On the other hand, too small socks, especially those made of cotton, can absorb all the moisture in the skates and will cause discomfort after a while. For maximum comfort, try trouser socks or knee-highs.
-
Redo the lacing on loose skates
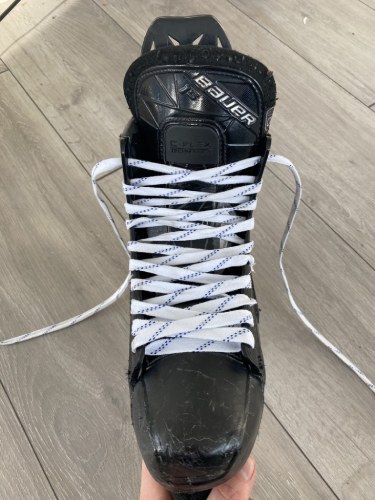
If your skates are feeling too loose, unlace them completely and re-lace with one of the methods we mentioned earlier. The way you lace your skates can affect their fit, so it’s important to do it properly.
If your skates still feel loose after being re-laced, though, it’s possible that they are too big for you.
-
Avoid twisting the lace
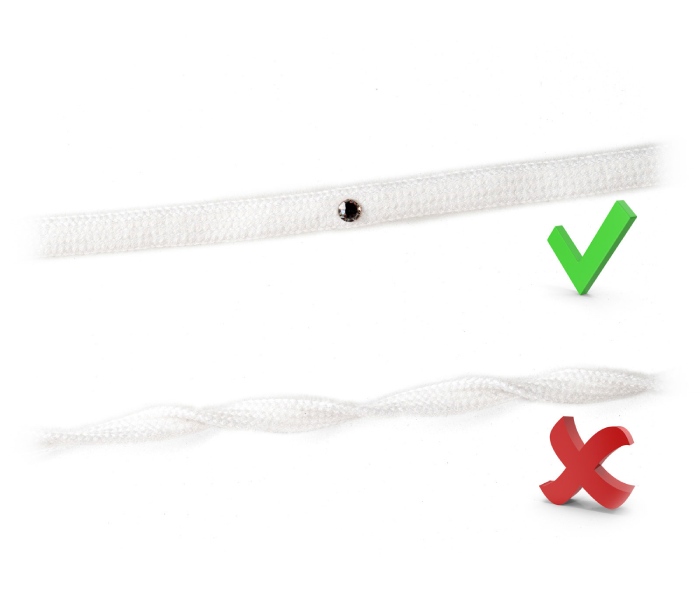
When your laces are twisted, they slip easier and are more likely to stretch. This causes them to wear out easier and eventually, they’ll snap.
-
Use lace tabs
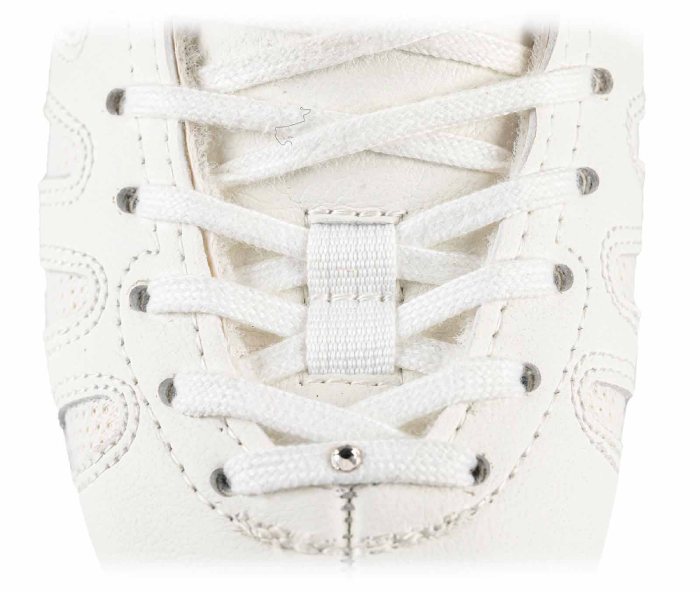
To help your tongue stay in place better, try using lace tabs if your skates don’t already come with them. They help hold the tongue in the optimal position and stop it from slipping.
Unlacing Skates
-
Check for an Aladdin’s Tip
An Aladdin’s tip is an overtly narrow skate toe that is caused by lacing your skates too tight. A lot of times, this tight lacing is done to make up for a lack of control with the skates or make them fit better.
Over time, if the skates aren’t unlaced properly, they will become more pointed at the toe to form an Aladdin’s tip. To prevent this, unlace the skates completely after every use.
-
Get a Lace Puller
Constant lacing and unlacing can start to hurt your hands after a while. This happens because of the friction the dry laces cause against your hands. This is made worse in the rink, which has to be kept at a colder temperature.
A lace puller will make both lacing and unlacing your shoes a lot easier and quicker. They can be found online or at skate shops and are easy to use. All you need to do is use the puller to pull your laces instead of your hands.



Leave a Comment