Since bindings are what keep you attached to your board, they are an important accessory and you need to find the right type based on your preferred style.
Then comes the challenge of mounting the bindings the most comfortable way. Follow our guide and enjoy this amazing outdoor sport!
Snowboard Bindings Setup
Things you’ll need
- #3 Phillips screwdriver
- A measuring tape or ruler
- Instruction manual of your snowboard
Stance and Placement
Regular or Goofy?
- Before delving into the binding process, you must first determine your footedness. You will work out whether you prefer your left or right foot first on your snowboard. If it is the former, you are “regular”, if it is the latter, you are “goofy”
- You can determine your preference by simply imagining a scenario where you are surfing or skateboarding with any type of skateboard. You may be able to instinctively know which foot you prefer first. Another way you can determine it is by observing which foot you kick a ball with – this is your dominant foot. This leg should generally go in the rear binding. If you are confused, you can test it out on your snowboard and experiment until you find an appropriate stance
- Once you’ve worked this out, you can move on to the next step
Placement:
Before installing your bindings, you may want to refer to your “Recommended Stance” markings that are provided on your snowboard. A quick search will allow you to find your board shape if you are unable to determine it yourself.
Your placement will depend on what kind of snowboard you own. The recommendations slightly differ for twin, directional and asymmetric snowboards.
Stance options:
- Centered stance – This is most suitable for a beginner as it allows for maximum control. This stance has the bindings placed symmetrically, where the distance between the nose of the board and your forward facing leg is equal to the distance between the tail and the leg at the rear of the board
- Setback stance – This stance places the bindings towards the tail of the snowboard. Not only does it help lessen fatigue, it also allows for stronger control while conducting turns on hardpack
Set Your Width
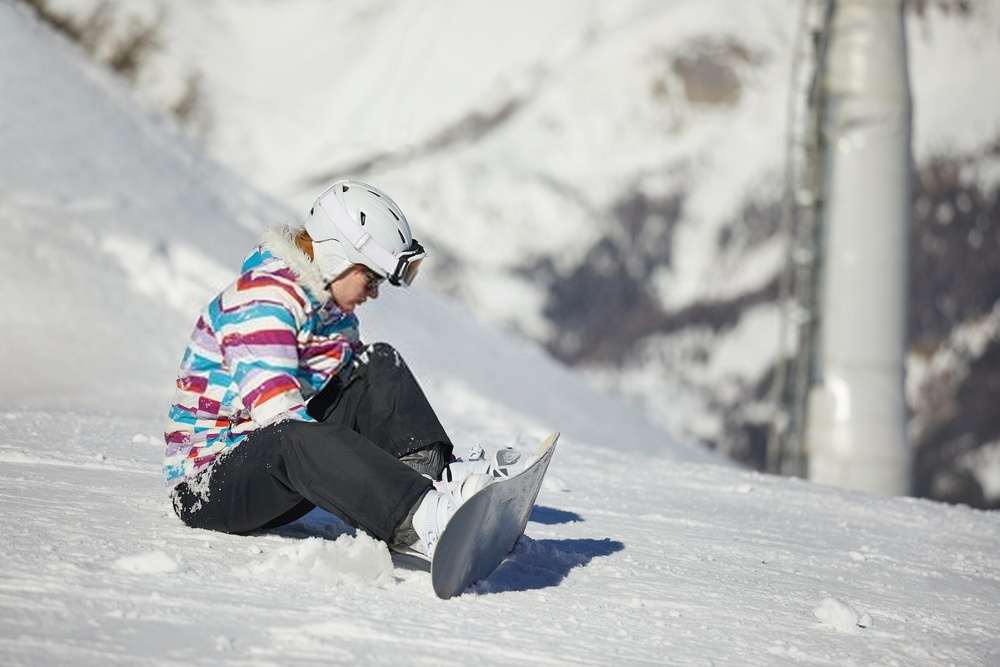
To get a feel for what width is most appropriate for you, stand with your knees just outside of your shoulders. It is important to make sure you are comfortable in the width you select because you will be jumping and leaping in this position.
After you’ve determined a suitable width, measure the distance between your feet using a ruler or measuring tape. You want to start measuring from the center of each foot. You can refer to the chart above if you were unable to determine your width.
Know your angles
- Duck stance: This stance is great for beginners as it teaches you how to correctly distribute your weight and enhance your technique. It requires both feet to be angled away from each other. Most snowboarders opt for a 15° angle for the front and somewhere between 0° and -6° for the rear binding – this is known as the “slight duck”
- When both rear and front angles are at 15°, it is called a mirrored stance or a “full duck”
- Forward stance: This too is a stance that is good for beginners as it is comfortable and allows you to navigate easily. With the front binding at a 21° angle and the rear at a small 6°, it gives you a “regular forward” stance. With the front at 18° and the back at a straight 0°, you have a “flat back” forward stance
- Flat stance: This stance facilitates an easy ride in both directions for the snowboarder. Both feet are angled straight at 0° in this stance and it makes for a fairly comfortable position, with many claiming that they find it more convenient than a duck stance
Mount your bindings
Now that you’ve been through a crash course on snowboard bindings, it’s time to put your knowledge to use.
- Align your base plate holes with the inserts at the width you measured earlier
- Rotate the bindings around the disc at your desired angle
- Screw in the bindings with the appropriate screwdriver
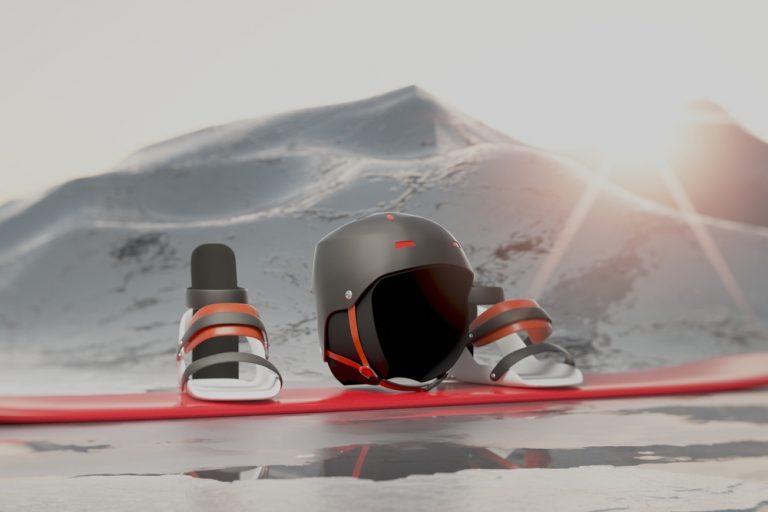
- Place your boots inside the bindings and tighten the straps comfortably
Fine-tuning your adjustments
- High Back/Forward Lean: If you angle your high back forward, you will attain more responsiveness. Despite restricting leg movement, this adjustment lowers your center of gravity as it forces you to bend your knees and allows you to have better control of your turns
- Conversely, angling your high back backward will reduce responsiveness. Many rail oriented riders opt for this adjustment as angling backward helps while locking into rails
- These adjustments can make a big difference while riding and largely depend on what kind of rider you are, therefore you may fine-tune them according to your preferences
Tips
- It is crucial to never place your bindings closer to the nose of the snowboard than the tail. It is alright to place them further to the rear than the nose
- Beginners are recommended to start at angles close to +21°/+6° until they get the hang of snowboarding. At that point, they may experiment with other angles
- Make sure neither of your bindings are jutting out outside of the board. This might create extra drag that can hinder your riding experience
- Be careful not to over-tighten your screws while attaching your bindings as it may void the warranty of your snowboard
- Do not use any adhesive or glue on your bindings. Stick to the screws provided with your bindings or ones that are the appropriate size for your board
- Always make sure to check your screws are tightly in place every time you go snowboarding
- Make sure not to over-tighten the straps on your bindings as it might cause uncomfortable circulatory problems
- When you place your boots inside the bindings, you can have them on or off your feet



Leave a Comment