One great thing about longboards is that they’re highly customizable. You can replace every part of your board if you want. However, when it comes to customization, we usually think of painting the board.
Let’s see how to get it done in minutes and have amazing results that will last a long time!
Where to paint?
Paint the bottom of the board for a customized look and leave the top as it is because you may otherwise lose your grip.
What type of paints for longboards
- Spray paint
- Acrylic Paint
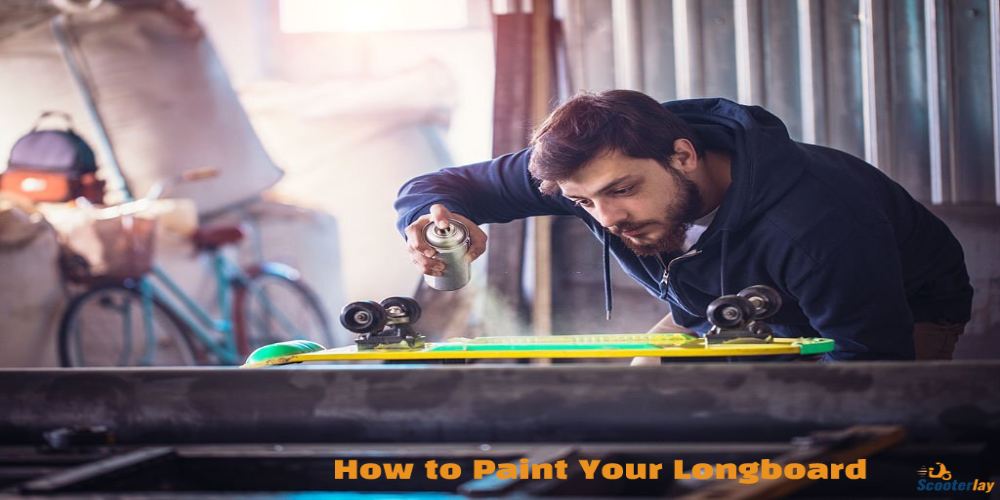
How to Paint a Longboard
Step 1: Planning the design
a) Stencils
You can buy stencils or make your own. It’s an easy process that anyone can try –
b) Tape
If you’re a beginner, you better paint on your grip tape instead since it’s easier and requires less time.
Step 2: Gather your tools and materials
- Wrench – to disassemble and assemble the board
- Anti-oxidizing agent – if necessary
- Dust mask, glasses, and gloves – protective gear
- Sandpaper(40 grit, 150 grit, 220-grit) – to smoothen the surface
- Stiff bristle brush – to clean the surface after smoothing out
- Wood filling paste – if the board needs any repair
- Painter’s tape – to cover the sides
- Primer (Brush/roller primer or aerosol primer)
- Rag/t-shirt
- Tack coat
- Wet paper towel/rag
- Stencils/tape-design
- Pen/pencil – to draw the design
- Spray paint or color
- Coat enamel
Step 3: The prep work
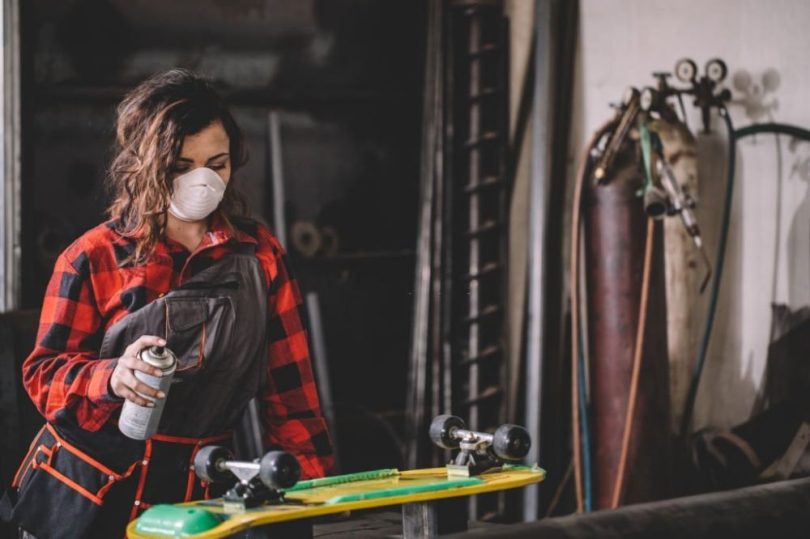
Secure your working area first. Make sure the place has a good ventilation system to avoid toxicity created by color fumes.
Put on your protective gear and cover the place to stay safe from the splattered color.
Step 4: Dissembling the board
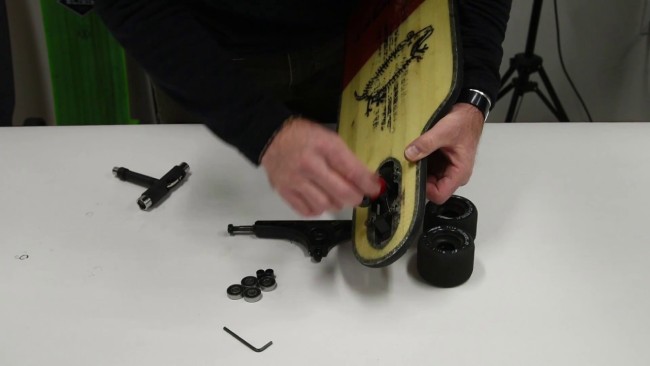
Remove the trucks from the deck of your board. Use a wrench to loosen the nuts and bolts.
Tip: Keep the nuts and bolts and other parts in a Ziplock. Remember if you lose one of them, you are in trouble!
Sometimes you may have difficulty removing nuts and bolts, especially if your board is old. In that case, you should use a rust inhibitor spray that will cost you around $5.
Step 5: Sanding
Next, sand away the old design and create a smoother surface before you paint. But make sure you’ve your protective gear on, including your dust mask, glasses, and gloves.
First use the 40-grit sandpaper and then the 150-grit. For your information, sandpapers are available at $6.
Note that uneven pressure while sanding may affect the evenness of the coloring.
Take your time when removing the old paint so it comes off nice.
Step 6: Cleaning the surface
After sanding, take the stiff bristle brush to clean the surface and then proceed to repair the board if needed.
Get a wood filler to repair the crack (if any). The paste will take up to 24 hours to dry completely. Now sand again.
Step 7: Taping
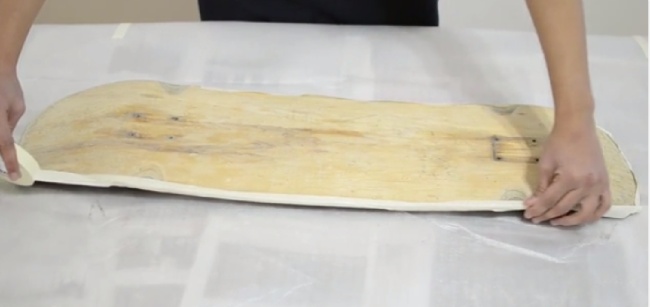
Tape the sides and make sure you’ll be able to pull them out afterwards. This is a necessary step. Do not avoid this or else you will end up with drips.
Step 8: Priming
You can use either an aerosol primer or a brush/roller primer. Just keep in mind that the application should be equal in all parts. Read the instructions before you apply.
Shake the aerosol primer for at least two minutes and then let the first layer dry completely before you apply the second one.
Step 9: Re-sanding
After priming, re-sand the board with the 150-grit sandpaper to remove bubbles and blisters. Then wipe off the primer sawdust with a dampened rag or an old t-shirt and wait till it dries up.
Step 10: Applying the tack coat
The tack coat is a thinning agent that will prepare your board for the paint.
Use a clean wet paper towel/rag to apply the coat; otherwise, your board will be dusty.
Step 11: Applying the paint
If you want three colors for instance then there will be three layers. The more color there is, the more layers have to be added. Let each layer dry before you apply the next.
Start off with the base color and then choose a deep color. You can pour acrylic color or use a brush to apply. Besides, you may choose a spray color.
Then keep your stencils or tape design on the board. Now spray/paint your second color layer and do the same for the next layers.
Let it sit for 24 hours.
Step 12: Re-assemble
Now take all those nuts, bolts, and wheels to reassemble the board.
Your longboard is now ready to roll!
Quick beginner’s tips
- Do not get over excited! Let the primer and paint dry before taking any further steps.
- Try using simple geometric designs for your first project.
FAQs
1. Does acrylic paint stick to wood?
Ans. Yes, they do if you clean the surface before using primer and colors. Make sure you let them dry well.
2. How much does it cost to customize a longboard?
Ans. With all the equipment and colors you may need something around $100.
3. Can I paint the top of my skateboard?
Ans. You can but you should not. Painting the top will result in reduced grip on your board. It is simply risky and not recommended.

Leave a Comment