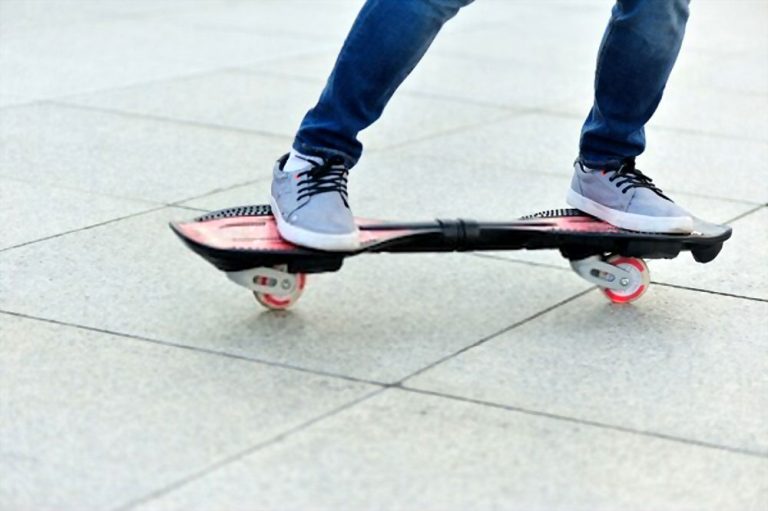
A RipStick is a skateboard with two wheels propelled by wiggling and twisting the body. At first sight, the process might appear a bit difficult but with practice, you can learn and develop the right confidence in no distance time.
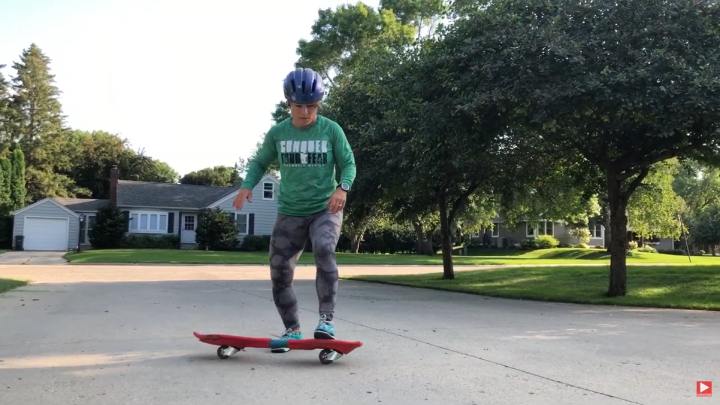
To get moving, you will need to place your left leg (the less dominant foot) directly on the RipStick and push your body using the dominant foot. Afterward place the right foot (dominant foot) immediately on the nose of the board. One of the sure steps to take before carrying out this action is to have your complete gears on. This will help to ensure your safety whenever you encounter an accident. Use a helmet, knee pads, and elbow pads as safety gear.
Before leaping, fasten the Velcro to your knee pads and elbow and ensure you use a good helmet. The use of proper gear and kits is advisable for beginners, since they have higher chances of falling or encountering accident.
- Use sneakers designed with rubber soles; this will enhance your feet stability while in motion.
- Seek the assistance of a friend for support while in motion.
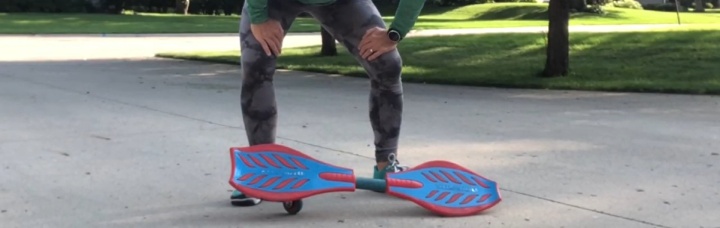
Gaining stability on the RipStick is easier once you have a friend that can support you while standing. All you will need to do is place your hands on their shoulders while they serve as a support system. And once you gain your balance, you can let them go.
If you have no assistance you can lean directly on a railing or a wall as this will also serve as a support system to you.
How to Ride RipSticks? – Learn the Basics
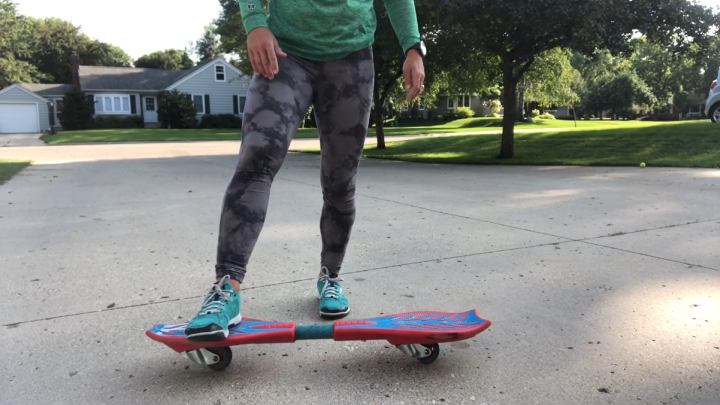
Place the board on a flat and smooth surface
If you’re starting as a beginner, you’ll certainly find that riding ripsticks is more difficult than riding a pro scooter. For ripsticks, you will need to practice on a flat surface. This can sometimes be on a driveway, an empty parking lot or a sidewalk. Position the RipStick to rest at one end, ensure the board is facing your direction and both wheels pointing further away from you.
Places with cracks, sand and water should be avoided. Any of the listed can throw the RipStick off balance and lead to an accident.
Place your non-dominant foot on the nose of the board
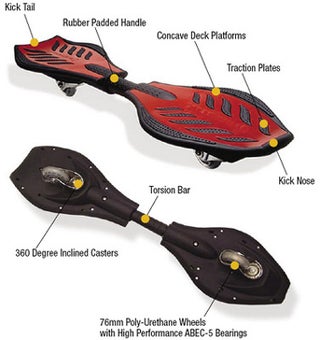
The board is customized with a narrow edge on the front. The narrow end is known as the nose. You can use the left foot if the right foot is your dominant foot. While riding on it, ensure the nose is faced forward.
While riding, if your feet is positioned foot forward, you are exhibiting the Regular Pattern Style. On the other hand, if you are on Goofy – it means you ride and place your dominate foot directly on the nose of the RipStick. The larger part of the board is known as the tail.
Push off with your dominant foot and place it on the tail immediately
Once you center your foot directly on the nose of the RipStick, try to use the dominant foot to gain enough momentum that will propel you forward. Once that is achieved, square both of your feet in the middle of the board. Change the direction of your foot quickly, this will allow you to gain more balance. Once stability is attained, center both feet at the end of each board.
The principle is simple “speed is equivalent to stability” so when riding on the board you gain more stability with an increase in speed. This is attainable by twisting one part of your foot on the rear part of the board while in motion.
At this point, you can let go of your support
If it’s difficult for you to maintain stability on the board, add a bit of force while wiggling on the rear part of the wheel. You can slant the knees a bit forward to help maintain balance.
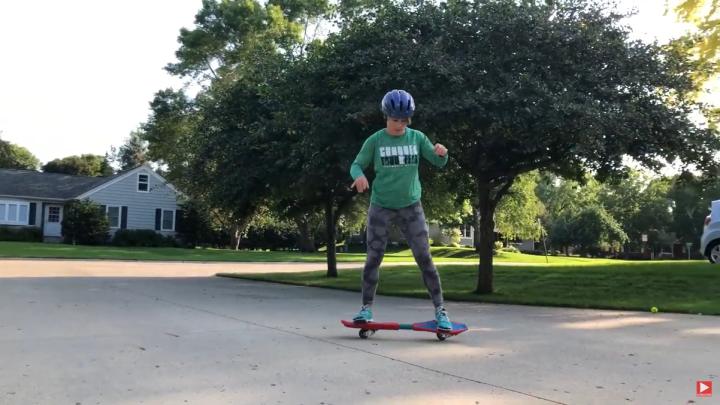
Reposition your footing if your feet are not centered
For safety and stability, ensure both feet are placed directly in the middle of the tail and nose. If this appears a bit difficult, you need to stop the RipStick and try the process again. If both feet are not positioned in the middle of the board riding and proper control won’t be possible.
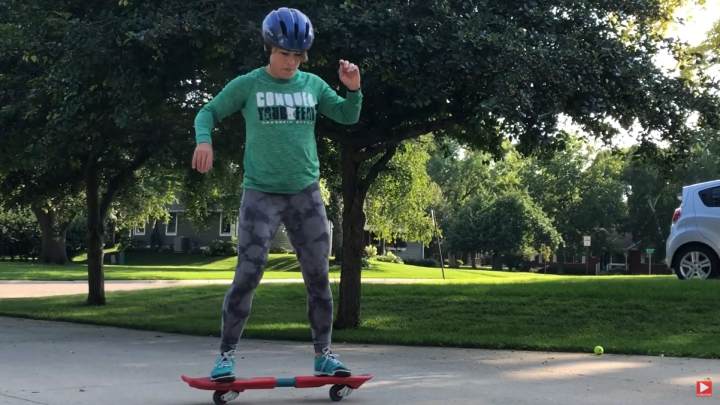
Maintain your balance while in motion
The second law of Newton’s law of motion implies that your speed depends on your balance. It’s pretty easy to attain balance on the RipStick once the board is in motion. Try to position your body weight rightly as the board glide along its path. Ensure both of your feet are centered on the RipStick while gliding on it. Although this may require some practice on your path to build your confidence and get comfortable with the entire process.
If you encounter challenges while trying to strike a balance on the board, try to slight a bit forward, this will help with your stability.
Step off the RipStick when you want to stop
The process is simple, all that is needed is to take off your dominant foot from the board and second it with the non-dominant foot. If your motion is slow; the process can be done effortlessly.
If you are speed conscious, try to change the foot that is placed directly on the nose of the RipStick to form a 900 turn; once this is achieved remove your foot. This will help break down speed of the board and lead it to a complete stop.
How to Ride RipSticks? – Gaining Speed and Turning
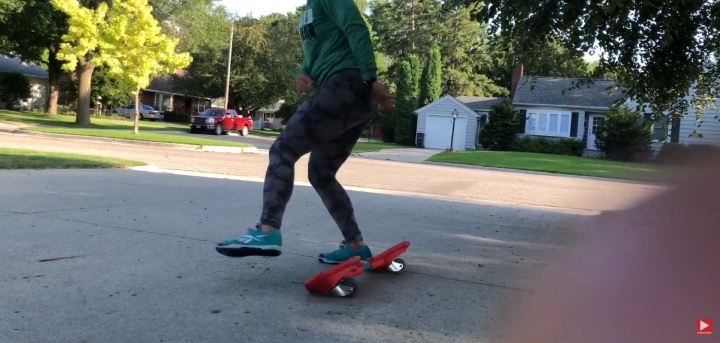
Twist your hips back and forth to move the RipStick faster
Once you’re riding on a RipStick all you need to do to get moving is glide your body on the board to create the motion. You can do this by wiggling the tail and the nose of the RipStick at the same time. While doing this, try to twist your shoulders and hips to and fro simultaneously, start at a slow pace and increase your speed gradually by wiggling a bit faster.
Shift your weight on your front foot from side to side to make a turn
The direction is dependent on the foot that is positioned in front of the board. For example, if you have your right foot placed on the nose of the RipStick you will need to slant your body a bit to position your weight in the direction of your toe. If you intend to make a left turn, direct your body weight to the position of your ankle.
Move your feet in opposite directions to make a sharp turn
If you intend to go beyond 900 turns, you will need to reposition your foot directly on the tail in an opposing direction to your front foot. For example, to direct your weight to the left side of the board, you will need to twist your rear foot in the right direction.
Although the entire procedure requires practice and consistency. In most cases, moving the rear foot in an opposing direction will help you gain more control.
Additional Tips
Practice this overtime to perfect your turning technique
In summary, riding a RipStick often appears easier but it requires a bit of practice to successfully speed up, make a turn, and do some tricks with ease. You can take a 30-to 45-minute ride every day until your brain create the necessary pathways. In a nutshell, the more you give yourself to practice, the more the entire process becomes easier. Also, try to maintain your board’s components correctly. Apply lubes to the bearings as you’d do to a skateboard or a longboard bearing. This would make riding experience smoother.
Stop Your RipStick Properly
Make sure the surface is flat and free from water and sand. Slow the board down to the normal working pace by allowing it to roll on it; you can do this by not twisting to gain speed. Once you get to the point you want to stop, get off from RipStick and walk a few steps. Walking will help break down the speed entirely. And since the board cannot sustain balance it will gently roll-off.
Skating is fun! But you can explore more by trying something different from the conventional pattern of skating. Try a RipStick and explore something new from the normal skating style. The entire process is quite simple especially if you had experience skating on a board before. And always put on a good pair of shoes before starting your ride.
FAQ
Is riding a RipStick a good exercise?
RipStick provides its riders with an exciting form of workout, just like riding a longboard or a skateboard. Although it was originally designed as a kid toy. But when used rightly, it can be an effective form of workout form both children and adults. The wiggling and twisting have a great impact on the abdominal and cardio muscles.
What is the difference between RipStick and RipSter?
The major difference remains in the size of their wheels. The wheels of a RipStick caster board is a bit bigger when compared to RipStick RipSter. The Caster Board has 76-milimeter wheels size while the RipStick RipSter’s has a wheel of 66-milimeter size. The bigger the wheels the faster the board.

Leave a Comment